

HackTheBox: Bucket Walkthrough
- SecHive

- Nov 13, 2020
- 3 min read
Updated: Dec 18, 2020

Operating System: Linux
Creator: MrR3boot
Intro
Bucket machine is a very challenging machine, a real-world-like that uses the Amazon Simple Storage Service (Amazon S3) and DynamoDB
Scanning & Enumeration
Nmap scan:

nmap scan result shows a hostname bucket.htb
(at the very top/bottom) so let's add this to /etc/hosts file:
While viewing page source, I saw a subdomain http://s3.bucket.htb that direct to the website images.

So if images are hosted, there must be more interesting directories and files. Browsing to the subdomain gives back a {"status": "running"} message.
Let's run Gobuster:

On /health page, we can confirm the machine is running Amazon Web Services (AWS)
On /shell/ page, we get a DynamoDB Web Shell, which can lead us furthermore to interact with the AWS.
Note: the forward slash at the end is a must.

A quick look at the Web Shell shows that there is an API with built-in commands. But at this point, I decided to go and expand my knowledge about s3 bucket services and the interaction with DynamoDB. An in-depth reading of the documentation (and quite a bit is required here), led me to install AWS CLI.
Installing AWS CLI
Next, we need to configure aws cli. For the purposes we use, it is not necessary to specify a real Key:
Enumerate DynamoDB: (read documentation to learn more!)
Cool! We have usernames and passwords. For now we don't have where to use them, so take a note and let's keep on moving.
Enumerate Buckets:
Remember the links we saw earlier in the source code which lead to site images?

So now I know that the adserver is connected to the website. s3 is not only a storage, is also a web hosting and its files are stored here. A quick check of s3 available commands shows that I can move / copy / delete files - excellent!
We can take advantage of that and try to get a reverse shell.
aws s3 helpGaining Foothold
Get a PHP reverse shell code. I like this custom one, I called it myrev.php
Uploading PHP reverse shell:
Note: notice the machine is cleaning itself every 30 seconds, so you need to be fast.
I tried to access my PHP file at http://bucket.htb/myrev.php but firefox offers me to download the file, and it does not execute it. So I wrote a little bash script:
rev.sh
This simple script copy myrev.php to the bucket and trying to curl the URL.
Open nc listener and wait upto 1 min.

Spawning a TTY Shell
More information TTY: https://netsec.ws/?p=337
I like this one: (not shown in the url above)
Privilege Escalation
Get User

I looked in the filesystem and what users this machine has ( /etc/passwd )
I saw a user named roy so I tried the passwords we found early in the process and one of them worked.

roy SSH creds: (Censored)
roy:n2v*******:.Aa2get flag user.txt
Get Root (HARD!)
Ok, so now we have a basic user. I did a lot of enumeration with the help of linPEAS and other tools, I saw that the server is listening to something interesting....
Let's see what's behind port 8000:
Execution of this command brought me HTML page code which during the searches I saw similar code in the following path: /var/www/bucket-app/index.php
It has an interesting PHP function at the top:
It's looking for a POST request with data
Create a new DynamoDB client (new instance of)
'Scan' (AWS func) for a table called alerts, then search for a title with the word Ransomware
Prints the data from that table into a PDF using Pd4Cmd
And all these steps running as root.
At the beginning of the walkthrough we searched which DynamoDB tables exist, we only found a "users" table. So this code is looking for a table that doesn't exist at all, so why not create one?
Pd4Cmd simply takes the HTML code, runs it and puts the output into PDF.
Let's start with a process that takes several steps, remember you have to be fast!
the machine cleaned every 30 sec.
Reference: Amazon DynamoDB Documentation
AWS Create Table
The Lines are separated by a backslash for convenience and easy reading, but this is actually one long command (copy-paste to the terminal and run)
AWS Put Content + Payload
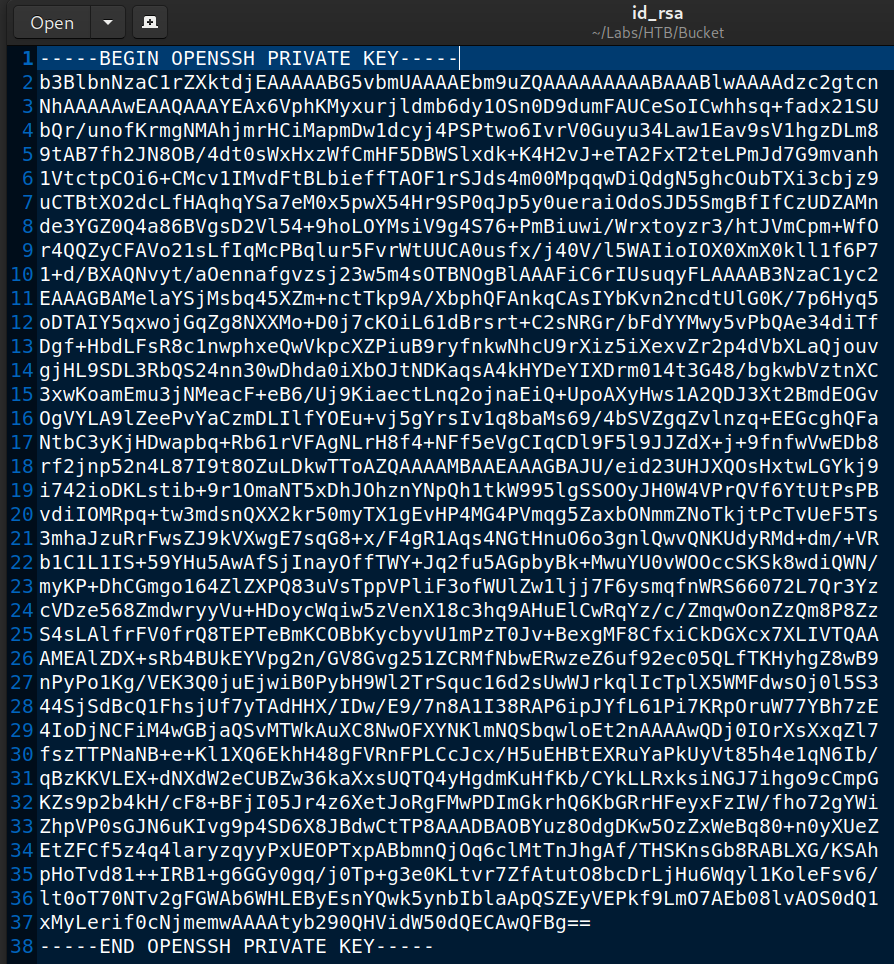
Payload: Steal root ssh private key
Curl URL using data:
Download result.pdf using scp:

Root SSH Private Key (id_rsa) Connect to root & get flag


Thank for the walk through but do you have any additional hints or tips on the last portion--after obtaining the 'result.pdf'? Do you need to use a specific tool to obtain critical info from the file?
Incredible walkthrough